
Weatherstripping Your Doors and Windows: Where Drafts Hide and How to Stop Them

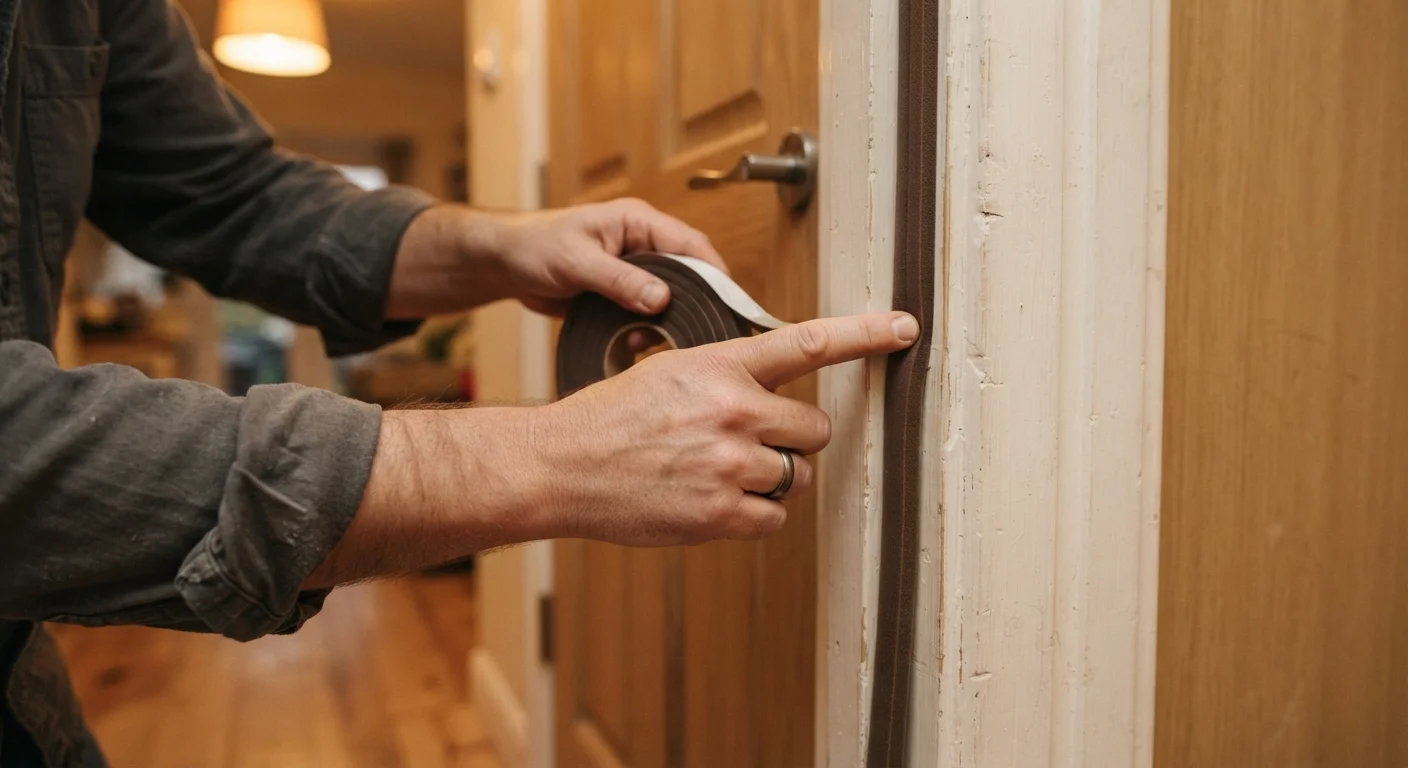
Photo: Online-Searches.net | Explore Insightful Blogs editorial
Key Takeaways
- Drafts most commonly enter through door bottom gaps, frame corners, and window sash meeting rails.
- A simple candle or incense stick test can reveal air leaks without any special equipment.
- Different weatherstripping materials suit different surfaces — matching the right type to the location matters.
- Most weatherstripping projects require only basic tools and no prior experience.
- Properly sealed doors and windows can noticeably reduce heating and cooling loss in your home.
Why Drafts Are Worth Tracking Down
A drafty home isn't just uncomfortable — it means your heating and cooling system is working harder than it needs to. Air leaks around doors and windows are among the most widespread sources of energy loss in American homes, according to the U.S. Department of Energy. The encouraging news: most of these leaks are well within reach of a weekend DIY fix.
The challenge is that drafts don't always announce themselves with an obvious whistle. Many are subtle — a slight chill near a closed window, or a door that feels cool to the touch in winter. Knowing where to look and how to test is half the battle.
Start With Your Exterior Doors
Where Drafts Commonly Hide
Before you buy a single roll of weatherstripping, walk through your home and check these high-probability trouble spots:
- Door bottoms: The gap between the door and the threshold is one of the largest and most overlooked leak points.
- Door frame sides and top: Old or compressed weatherstripping along the jamb lets air sneak through even when the door appears fully closed.
- Window sash meeting rails: On double-hung windows, the horizontal bar where the upper and lower sashes meet is a frequent weak point.
- Window frame corners: Caulk around the exterior frame can crack over time, especially through freeze-thaw cycles.
- Sliding door tracks: Dirt and worn pile weatherstripping in the track channel allow significant airflow.
To confirm a leak, hold a lit candle or incense stick near the suspected area on a windy day. Any flicker or smoke drift toward or away from the surface indicates moving air. Do this with the door or window fully closed.
Don't Use Open Flame Near Insulation or Curtains
Choosing the Right Weatherstripping
Not all weatherstripping is created equal, and the right material depends on where you're applying it and how much friction that surface endures.
Tape measure
Accurately measure door and window perimeters before purchasing weatherstripping material.
Utility knife or scissors
Cut weatherstripping material to precise length for a clean, gapless fit.
Plastic scraper or putty knife
Remove old adhesive-backed weatherstripping and residue from surfaces before installation.
Screwdriver (flathead and Phillips)
Fasten door sweeps and remove stapled or nailed metal V-strip.
Drill with pilot bit
Pre-drill screw holes for door sweeps to prevent wood splitting.
Candle or incense stick
Detect air movement around closed doors and windows to pinpoint draft locations.
Here's a quick-reference guide to common types:
- Foam tape (open- or closed-cell): Best for irregular gaps and window stops. Easy to apply, but compresses over time and may need replacing every few years.
- V-strip (tension seal): A folded plastic or metal strip that springs open to fill a gap. Durable and well-suited for the sides of door jambs and window channels.
- Door sweeps and automatic door bottoms: Mounted to the bottom edge of the door itself to seal the threshold gap. Available in brush, rubber, and vinyl versions.
- Tubular rubber or vinyl gasket: Compresses under pressure to form a tight seal — good for door stops where the door closes firmly against it.
Step-by-Step: Weatherstripping a Door
Follow these steps in order for the best result. Completing the door perimeter before moving to windows keeps the work organized and lets you compare results quickly.
Remove old weatherstripping completely
Peel away any existing foam tape or gasket material from the door jamb, stop, and threshold area. Use a plastic scraper or putty knife to remove adhesive residue. For metal V-strip held by nails or staples, use a flathead screwdriver to pry it free carefully.
Clean the surface with a damp cloth and allow it to dry fully. Adhesive-backed weatherstripping will not bond well to dirty or damp surfaces.
Measure the door perimeter
Using a tape measure, record the length of each side of the door jamb (two vertical sides and the top horizontal piece). Measure the door bottom separately. Write each measurement down — do not estimate.
Add a few extra inches to each measurement when purchasing material so you can trim to a precise fit rather than running short.
Install V-strip along the door jamb sides
Cut V-strip to the measured length of each vertical jamb. Open the door and press the flat side of the strip into the jamb channel — the V-shape should face the exterior when the door is closed. Nail or staple every few inches if using metal strip; press firmly along the full length if using self-adhesive.
Close the door to check that it closes smoothly. The strip should compress slightly but not resist or bow the door.
Attach a door sweep to the bottom
Hold the door sweep flush against the inside bottom edge of the door with the rubber or brush seal just touching the threshold — not dragging hard against it. Mark the screw hole positions with a pencil, then drill pilot holes to prevent the wood from splitting.
Fasten the sweep with the provided screws. Open and close the door several times to confirm the sweep glides smoothly over the threshold without catching or lifting.
Test and verify the seal
With the door fully closed, repeat the candle or incense test around all four edges. No flickering means the seal is working. Alternatively, slide a dollar bill between the door and the jamb — if you can pull it out without resistance, the seal at that point is still too loose and needs adjustment or additional material.
Maintaining Your Work Over Time
Weatherstripping is not a one-time fix — it degrades through use, UV exposure, and seasonal temperature swings. Plan to inspect all sealed doors and windows once a year, ideally in early fall before heating season begins.
Look for weatherstripping that has flattened, cracked, pulled away from the surface, or is missing entirely. Foam tape typically lasts two to five years; V-strip and rubber gaskets often last longer with proper installation. Door sweeps on exterior doors may wear faster due to regular contact with thresholds and debris.
Keeping a small stock of foam tape and replacement door sweep material on hand means you can address wear as soon as you spot it, rather than waiting through another drafty winter.
The content provided on our blog site traverses numerous categories, offering readers valuable and practical information. Readers can use the editorial team’s research and data to gain more insights into their topics of interest. However, they are requested not to treat the articles as conclusive. The website team cannot be held responsible for differences in data or inaccuracies found across other platforms. Please also note that the site might also miss out on various schemes and offers available that the readers may find more beneficial than the ones we cover.