
Seeding a Lawn From Scratch: A Season-by-Season Walkthrough

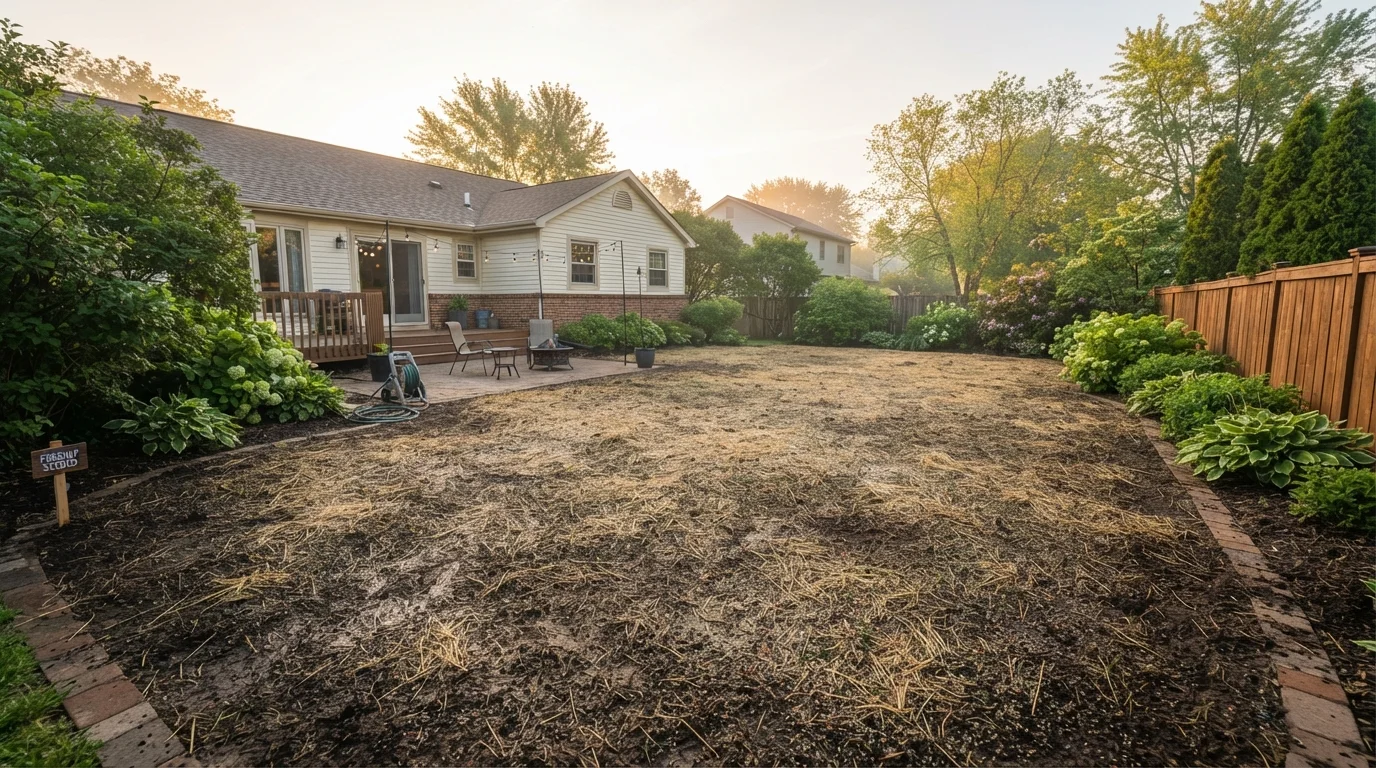
Photo: Online-Searches.net | Explore Insightful Blogs editorial
Key Takeaways
- Timing your seeding to match your grass type and climate is the single biggest factor in early success.
- Soil preparation — including testing, amending, and grading — determines how well seed germinates.
- Consistent shallow watering during germination is more important than heavy, infrequent irrigation.
- Cool-season grasses are best seeded in fall; warm-season grasses establish most reliably in late spring.
- Newly seeded lawns need at least 6–8 weeks of establishment before tolerating foot traffic or mowing.
- Patience matters: a fully dense, mature lawn typically takes a full growing season or more to develop.
Why Timing and Preparation Define Your Lawn's Future
Starting a lawn from seed is one of the most rewarding home garden projects — and one of the easiest to get wrong when the fundamentals are rushed. Unlike laying sod, seeding requires patience, precision, and a clear-eyed understanding of what your specific soil and climate demand. The good news: when the groundwork is solid, grass seed is remarkably forgiving.
The most important variable is timing. Grass seed germinated in the right temperature window establishes quickly and outcompetes weeds. Seed placed in unfavorable conditions — soil that's too cold, too hot, or bone dry — germinates slowly or not at all, leaving bare ground vulnerable to erosion and weed pressure. Your region and grass type together determine your optimal seeding window, and understanding that relationship is the first real decision to make.
Don't Skip the Soil Test
Soil preparation is the second pillar. Grass seed doesn't need deep, perfect soil — but it does need loose, pH-balanced, moderately fertile ground with a firm, even surface. Skipping the prep phase is the most common reason homeowners reseed the same area two or three times before achieving results.
What you will need
Step-by-Step: From Bare Ground to Established Lawn
Follow these steps in sequence. Each builds on the last, and cutting corners early compounds into bigger setbacks later in the process.
Soil pH test kit or lab test
Determines existing soil pH and nutrient levels so amendments can be targeted accurately before seeding.
Tiller or garden rake
Loosens and levels compacted soil to create an ideal seedbed with good seed-to-soil contact.
Broadcast or drop spreader
Distributes grass seed evenly across the area at the correct application rate.
Starter fertilizer
Supplies phosphorus-rich nutrition to support early root development in newly germinating grass.
Straw mulch or erosion netting
Retains soil moisture and protects seed from wind and heavy rain during the germination window.
Garden hose with adjustable spray head or oscillating sprinkler
Delivers gentle, consistent moisture without displacing seed during the critical germination period.
Lawn roller (empty)
Presses seed into loose soil to improve contact, particularly on sandy or freshly tilled ground.
Test and amend your soil
Before any seed goes into the ground, send a soil sample to your local cooperative extension service or use a home testing kit. You're looking for a pH between 6.0 and 7.0 for most grass types. If pH is too low (acidic), work in ground limestone. If it's too high (alkaline), elemental sulfur can help bring it down. Also note nutrient deficiencies — low phosphorus in particular will hinder root establishment.
Allow 2–4 weeks after amending before seeding so adjustments can begin integrating into the soil profile.
Choose the right grass seed for your region
Matching seed to climate is non-negotiable. Cool-season grasses — such as tall fescue, Kentucky bluegrass, and perennial ryegrass — thrive in the northern US and do best seeded in late summer to early fall. Warm-season grasses — including bermudagrass, zoysia, and centipede — suit the South and transition zones, establishing most reliably when seeded in late spring through early summer.
For more detail on grass characteristics and regional fit, see our guide to cool-season vs. warm-season grasses.
Prepare the seedbed
Loosen the top 4–6 inches of soil with a tiller or heavy rake. Remove rocks, clumps, and old root material. Grade the area so it slopes gently away from structures — roughly a 1–2% grade — to encourage proper drainage and prevent pooling. Rake the surface smooth and firm. Good seed-to-soil contact is what drives germination, so a fine, level surface matters more than most homeowners realize.
If your soil is heavily compacted, consider aeration before tilling. Our explainer on lawn aeration covers when this step adds real value.
Apply starter fertilizer, then seed
Broadcast a starter fertilizer (higher in phosphorus) across the prepared area according to package directions, then rake it lightly into the top inch of soil. Follow immediately with your seed. Use a broadcast spreader for larger areas or a drop spreader for precision around edges. Apply seed in two passes — one north-to-south and one east-to-west — at half the recommended rate each time for even coverage.
After seeding, use an empty lawn roller or the back of a rake to press seed gently into the soil surface. Then apply a thin, even layer of straw mulch (one bale typically covers roughly 1,000 square feet) to retain moisture and reduce erosion.
Water consistently through germination
Keep the seedbed evenly moist until germination is well underway — typically 7–21 days depending on grass type and temperature. Water lightly 2–3 times daily in hot or windy conditions, reducing to once daily as seedlings emerge. Avoid runoff, which can displace seed and create bare patches. Once grass reaches 1–1.5 inches tall, shift to deeper, less frequent watering to encourage roots to grow downward.
For help choosing between irrigation approaches, see our comparison of drip irrigation vs. sprinkler systems.
First mow and ongoing establishment care
Wait until grass reaches approximately 3–4 inches before the first mow, and set your mower blade high — removing no more than one-third of the blade height per session. This reduces stress on still-establishing root systems. Keep foot traffic off newly seeded areas for at least 6–8 weeks.
Plan for a follow-up fertilizer application roughly 6–8 weeks after germination to support continued growth. Consult our guide to organic vs. synthetic fertilizers to choose the right product for your lawn's needs. For a full calendar of care tasks beyond establishment, our month-by-month lawn care reference is a useful companion resource.
Light, Frequent Watering Is the Rule
Once your lawn is established, keep momentum going with seasonal care. Our spring lawn prep checklist covers what to revisit once your new grass heads into its first full growing season.
Avoid Pre-Emergent Herbicides Before Seeding
The content provided on our blog site traverses numerous categories, offering readers valuable and practical information. Readers can use the editorial team’s research and data to gain more insights into their topics of interest. However, they are requested not to treat the articles as conclusive. The website team cannot be held responsible for differences in data or inaccuracies found across other platforms. Please also note that the site might also miss out on various schemes and offers available that the readers may find more beneficial than the ones we cover.