
Drywall Repair: Patches, Cracks, and Holes Explained

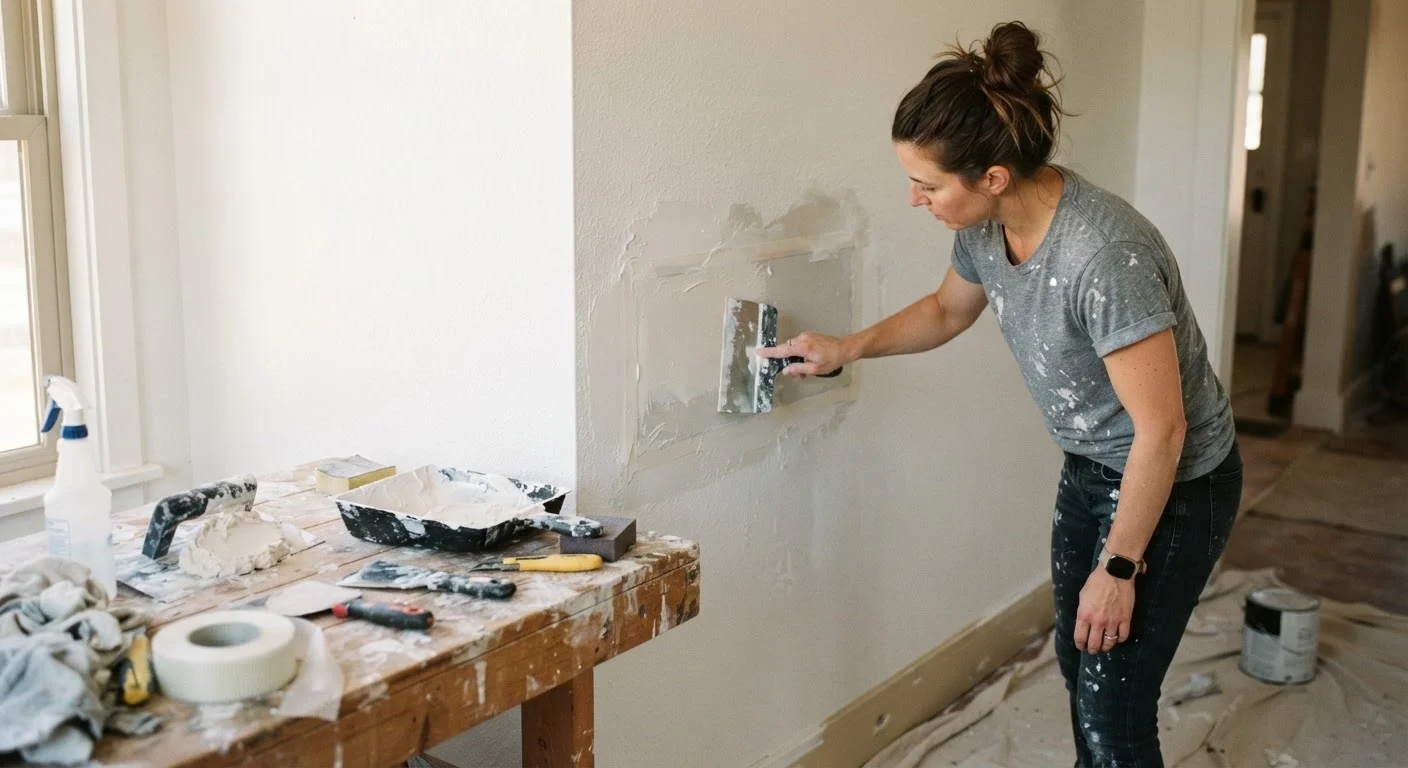
Photo: Online-Searches.net | Explore Insightful Blogs editorial
Key Takeaways
- Not all drywall damage is the same — method selection starts with correctly identifying the damage type.
- Hairline cracks, small holes, and large holes each require a different repair approach and set of materials.
- Joint compound (mud) is the core material in almost every drywall repair, applied in multiple thin coats.
- Holes larger than about six inches typically need a backing board or replacement panel for structural support.
- Proper sanding and priming before painting are essential for a seamless, invisible finish.
- Some repairs — such as those involving water damage or structural cracking — warrant a professional evaluation.
Why Damage Type Determines Your Repair Method
Walk into any hardware store and the drywall repair aisle can feel overwhelming — spackle, mesh patches, self-adhesive strips, setting-type compound, lightweight mud. The reason there are so many products is simple: different kinds of damage call for different solutions. Using the wrong approach doesn't just waste time and money — it can mean the repair fails within months.
Before reaching for any product, spend two minutes assessing the damage honestly. Ask: How wide and deep is it? Is it a crack or a hole? Is the surrounding drywall solid, or does it flex when pressed? Is there any discoloration suggesting moisture? These answers narrow your repair path significantly.
~⅝ inch
Standard drywall thickness in most US homes
Most interior walls use ½-inch drywall; ceilings and some fire-rated assemblies commonly use ⅝-inch panels — knowing your wall thickness ensures a flush patch.
3 coats
Typical compound coats for a smooth patch
Most finishing professionals apply at least three thin coats of joint compound, sanding between each, to achieve a seamless, flush surface on patched areas.
24 hours
Minimum drying time per compound coat
Standard all-purpose joint compound requires approximately 24 hours of drying time per coat under normal indoor conditions before sanding or recoating.
Hairline Cracks: The Most Common Complaint
Hairline cracks — thin, surface-level lines often appearing near corners, along ceiling joints, or around door and window frames — are among the most frequent drywall complaints in American homes. They're typically caused by normal house settling, seasonal humidity changes, or minor vibration over time. The good news: they're also among the simplest fixes.
How to Repair a Hairline Crack
- Widen slightly: Use a putty knife or screwdriver to lightly score along the crack. This gives the compound something to grip rather than just sitting on top.
- Apply joint compound: Use a 4- to 6-inch putty knife to press a thin layer of lightweight joint compound into and over the crack, feathering the edges outward.
- Embed tape for recurring cracks: If this crack has reappeared before, embed paper tape or fiberglass mesh tape into the wet compound before it sets.
- Sand and repeat: Once dry, sand lightly with 120-grit sandpaper and apply a second thin coat. Repeat until flush with the wall surface.
Diagonal cracks that widen over time — particularly near door or window corners — may signal structural movement rather than normal settling. When in doubt, have a professional evaluate before patching over the surface.
Small Holes: Nail Pops, Doorknob Dents, and Anchors
Holes up to about three inches in diameter — from doorknobs, picture anchors, or removed shelving hardware — don't require backing. A self-adhesive patch or the compound-and-tape method handles them cleanly.
Use Thin Coats — Always
Repair Steps for Small Holes
- Clean the edges: Remove any loose paper or crumbled gypsum around the hole so the edges are firm.
- Apply a self-adhesive mesh patch: These aluminum or fiberglass patches come in several sizes and stick directly over the hole, providing a ready surface for compound.
- Apply joint compound in thin coats: Use a 6-inch knife and apply compound over the patch, feathering at least 4 to 6 inches beyond its edges. Thin coats dry more evenly and are easier to sand smooth.
- Sand between coats: Lightly sand each dried coat before applying the next. Three coats is a reasonable expectation for a flush, smooth finish.
- Prime before painting: This step is non-negotiable for a seamless result.
Large Holes: When You Need Backing Support
Holes larger than about six inches — the result of doorknob impact, plumbing access, or accidental damage — need structural backing before compound can do its job. Without support, any patch will flex, crack, and eventually fall through.
Two Reliable Backing Methods
California patch (for medium holes): Cut the hole into a clean rectangle. Cut a piece of drywall slightly larger than the hole. Score and snap the back gypsum away from one side, leaving a paper border. The paper border bonds to the existing wall surface with compound, while the center drywall core fills the hole.
Backing board method (for larger holes): Cut the hole to a clean rectangle. Slip narrow strips of wood or thin plywood behind the existing drywall on the top and bottom edges, securing them with drywall screws through the face. Cut a drywall patch to fit the rectangle, screw it to the backing boards, then tape the seams and apply compound in multiple coats.
Either method requires patience with the mudding and sanding stages — rushing this is where most DIYers run into trouble. For a thorough breakdown of when to attempt large repairs yourself versus bring in a contractor, see our room-by-room repair guide.
Water Damage Changes Everything
Finishing: The Step That Makes or Breaks the Result
The actual patching is only half the job. The finishing stage — sanding, priming, and painting — is what determines whether the repair is invisible or obviously visible from across the room.
- Sand progressively: Start with 120-grit sandpaper and finish with 150- or 220-grit for a smooth surface. A sanding sponge works well in tight corners.
- Feather your edges: The compound should taper so gradually into the surrounding wall that there's no perceptible ridge where the patch ends.
- Prime the repair: Apply a coat of drywall primer to seal the compound before painting. Without it, the paint will absorb differently over the patch and create a visible dull spot.
- Match the texture: If your wall has orange peel, knockdown, or another texture, you'll need to replicate it on the patch before painting. Aerosol texture sprays can help, though practice on cardboard first.
Color-matching paint is its own challenge. Even a perfect structural repair can stand out if the paint doesn't match. When repainting a repair, plan to roll the entire wall rather than just spot-painting, for the most consistent result.
Frequently Asked Questions
The content provided on our blog site traverses numerous categories, offering readers valuable and practical information. Readers can use the editorial team’s research and data to gain more insights into their topics of interest. However, they are requested not to treat the articles as conclusive. The website team cannot be held responsible for differences in data or inaccuracies found across other platforms. Please also note that the site might also miss out on various schemes and offers available that the readers may find more beneficial than the ones we cover.