
The Anatomy of a Home Renovation Project for First-Time Homeowners

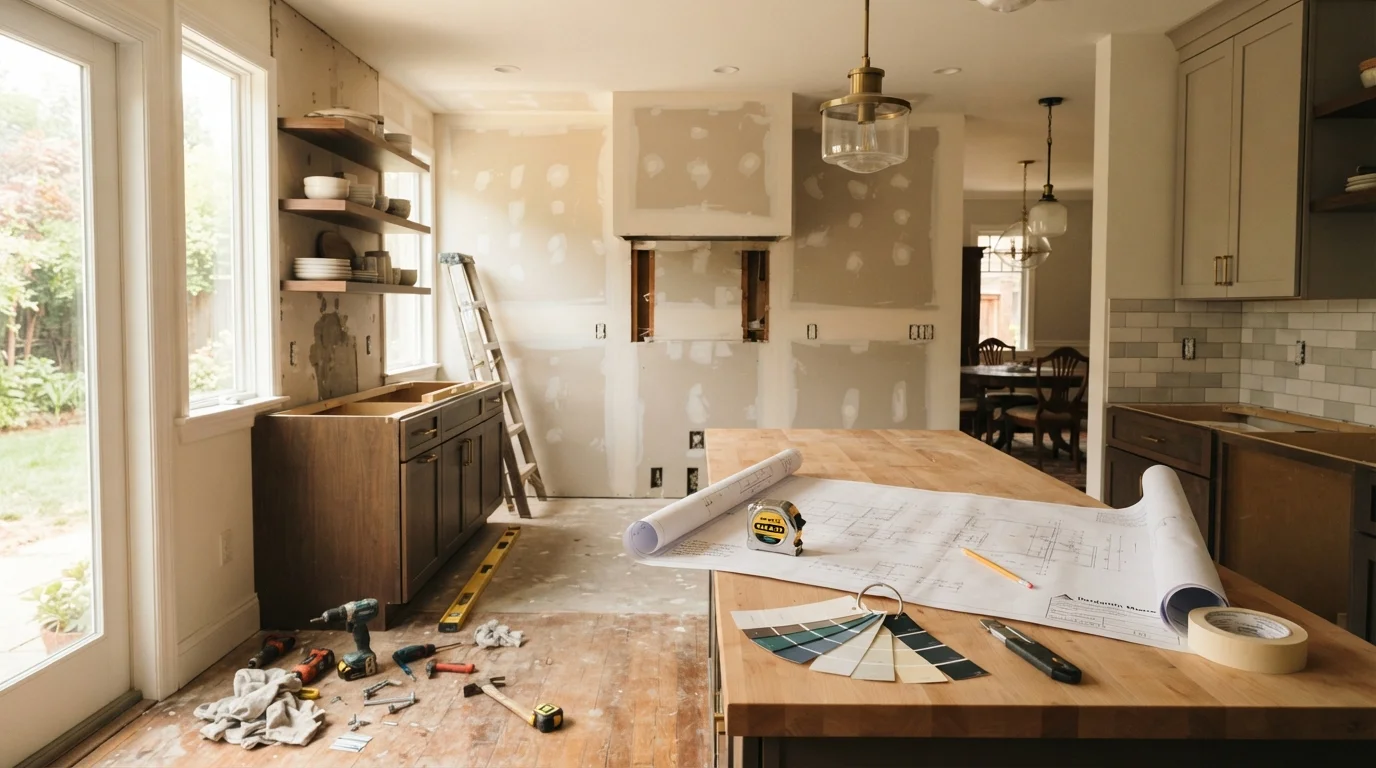
Photo: Online-Searches.net | Explore Insightful Blogs editorial
Key Takeaways
- Renovations follow predictable stages — scoping, design, permitting, demolition, build-out, and closeout.
- Knowing which trades handle which tasks helps you coordinate work and avoid costly overlaps.
- Permits are not optional formalities — skipping them can affect your insurance and resale.
- A contingency budget of 10–20% is the single most reliable buffer against unexpected costs.
- A written punch list protects you before you release final payment to any contractor.
The Six Stages Every Renovation Moves Through
No matter the size of a project — a single bathroom or an entire floor — renovations follow the same underlying arc. Understanding that arc is the most powerful tool a first-time homeowner can have.
- Scoping: Define exactly what you want to change and why. Write it down. Vague goals produce vague bids and vague results.
- Design and planning: Translate the scope into actual decisions — layouts, materials, finishes. This is where mistakes cost the least to fix.
- Permitting: Submit plans to your local building department and wait for approval before any physical work begins. Timelines vary widely by municipality.
- Demolition: Existing materials come out. This stage often reveals what's inside walls — and occasionally, what shouldn't be there.
- Build-out: Rough work (framing, mechanical, electrical, plumbing) is followed by inspections, then finish work (drywall, tile, cabinetry, paint). Trades must be sequenced correctly or you'll be paying someone to undo someone else's work.
- Closeout: Inspections, cleaning, final contractor walkthrough, and the punch list. The project isn't done until every item on that list is signed off.
For a deeper look at sequencing and budgeting across all these phases, the complete home improvement planning guide covers the full workflow in one place.
Write Down Your Scope Before Any Conversation
Who Does What: The Key Players on Any Project
Renovations involve more roles than most homeowners expect. Knowing who handles what prevents gaps and keeps you from accidentally paying two contractors to solve the same problem.
General contractor
A licensed professional who oversees the entire renovation project, coordinating subcontractors, schedules, and materials on the homeowner's behalf.
Subcontractor
A trade specialist — such as an electrician, plumber, or tile setter — hired to complete a specific portion of a larger project.
Punch list
A written list of incomplete or deficient items compiled near the end of a project that must be resolved before final payment is released.
Building permit
An official approval from a local government that authorizes specific construction or renovation work and ensures it will be inspected for code compliance.
Rough-in
The early phase of a build-out where structural, electrical, plumbing, and HVAC systems are installed inside walls and floors before surfaces are closed up.
Contingency budget
A reserved amount of money — typically 10–20% of total project cost — set aside specifically to cover unexpected expenses that arise during construction.
- General contractor (GC): Manages the overall project, hires and schedules subcontractors, and is your primary point of contact. Not every project needs one, but larger jobs almost always benefit from this coordination layer.
- Subcontractors: Specialists who handle specific trades — electricians, plumbers, HVAC technicians, tile setters, drywall hangers. They typically work under the GC, though homeowners sometimes hire them directly on smaller projects.
- Architect or designer: Required for structural changes; useful for complex layout decisions even when not legally required. Their drawings become part of your permit application.
- Building inspector: A local government official, not someone you hire. They verify that work meets code at key milestones. Their sign-off is not optional.
Before any contract is signed, know exactly which of these roles is covered and which you're responsible for coordinating yourself. Our guide on hiring a contractor gives you the questions that separate reliable professionals from risky ones.
Permits, Codes, and Why They Protect You
Permits exist for one reason: to ensure work is done safely and to a standard that protects future occupants — including you. Skipping them is never a neutral decision.
Unpermitted work can create serious problems down the road. Insurance companies may deny claims for damage traced to work that was never inspected. Home buyers and their lenders may require unpermitted work to be disclosed, corrected, or even removed before a sale can close. And if a code violation causes injury, liability exposure is real.
What typically requires a permit varies by jurisdiction, but common triggers include:
- Electrical panel upgrades or adding circuits
- Plumbing changes beyond fixture swaps
- Structural modifications (removing walls, adding rooms, changing load paths)
- Window replacements that alter rough opening size
- Roofing replacements in many counties
Always verify with your local building or planning department before work begins. Most municipalities publish permit requirements online, and the call to clarify takes minutes. If you're considering something like removing a wall for an open-concept layout, note that structural implications go well beyond the permit itself — open-concept renovations carry trade-offs worth understanding first.
Permit Requirements Vary by Location
The Surprises That Derail Timelines and Budgets
The single most consistent pattern in home renovation is this: something unexpected happens. This isn't pessimism — it's physics. Walls get opened, and what's inside is not always what the plan assumed.
Common discoveries that add cost and time:
- Water damage or mold: A slow leak behind a shower can mean remediation before any new tile goes in.
- Outdated wiring: Knob-and-tube or aluminum branch wiring in older homes often must be brought up to current code when a project touches that area of the house.
- Asbestos or lead paint: Common in homes built before the 1980s. Testing and proper abatement is required before disturbing these materials — this is not a DIY task.
- Structural issues: Rot in a rim joist, undersized headers above windows, or an unlevel subfloor can all turn a simple refresh into a more involved repair.
A contingency budget — typically 10–20% of your total project cost — is the most practical buffer against these realities. Treat it as a built-in line item, not a hopeful fallback. If you don't spend it, that's the best outcome.
Material lead times also deserve planning attention. Specialty tile, custom cabinetry, and certain fixtures can have lead times of several weeks or longer. Order materials before demolition, not after.
The Punch List: Closing Out a Project the Right Way
The punch list is your final quality-control tool — a written inventory of everything that remains incomplete, incorrect, or below the standard agreed to in your contract. It's created near the end of construction, typically during a walkthrough with your contractor.
Work through every room systematically. Look for:
- Paint touch-ups, scuffs, or unfinished trim
- Doors or windows that don't open, close, or latch correctly
- Tile grout that's cracked, missing, or inconsistent
- Fixtures that aren't level, fully seated, or functioning
- Electrical outlets or switches that don't work
- Any debris or materials left on site
Document each item in writing — a shared digital list works well — and set a clear timeline for resolution. Do not release final payment until every punch list item is completed to your satisfaction. This is industry-standard practice, not a confrontational stance. A professional contractor expects and respects the process.
After closeout, organize your project records: permits, inspection sign-offs, warranty documents, and contractor contact information. These become part of your home's history and can matter significantly when it's time to sell or file an insurance claim.
Renovation is a learnable process. The homeowners who feel most in control are the ones who understand the structure before the first hammer swings.
Frequently Asked Questions
The content provided on our blog site traverses numerous categories, offering readers valuable and practical information. Readers can use the editorial team’s research and data to gain more insights into their topics of interest. However, they are requested not to treat the articles as conclusive. The website team cannot be held responsible for differences in data or inaccuracies found across other platforms. Please also note that the site might also miss out on various schemes and offers available that the readers may find more beneficial than the ones we cover.