
Why Your Caulk Keeps Cracking (And What to Do About It)

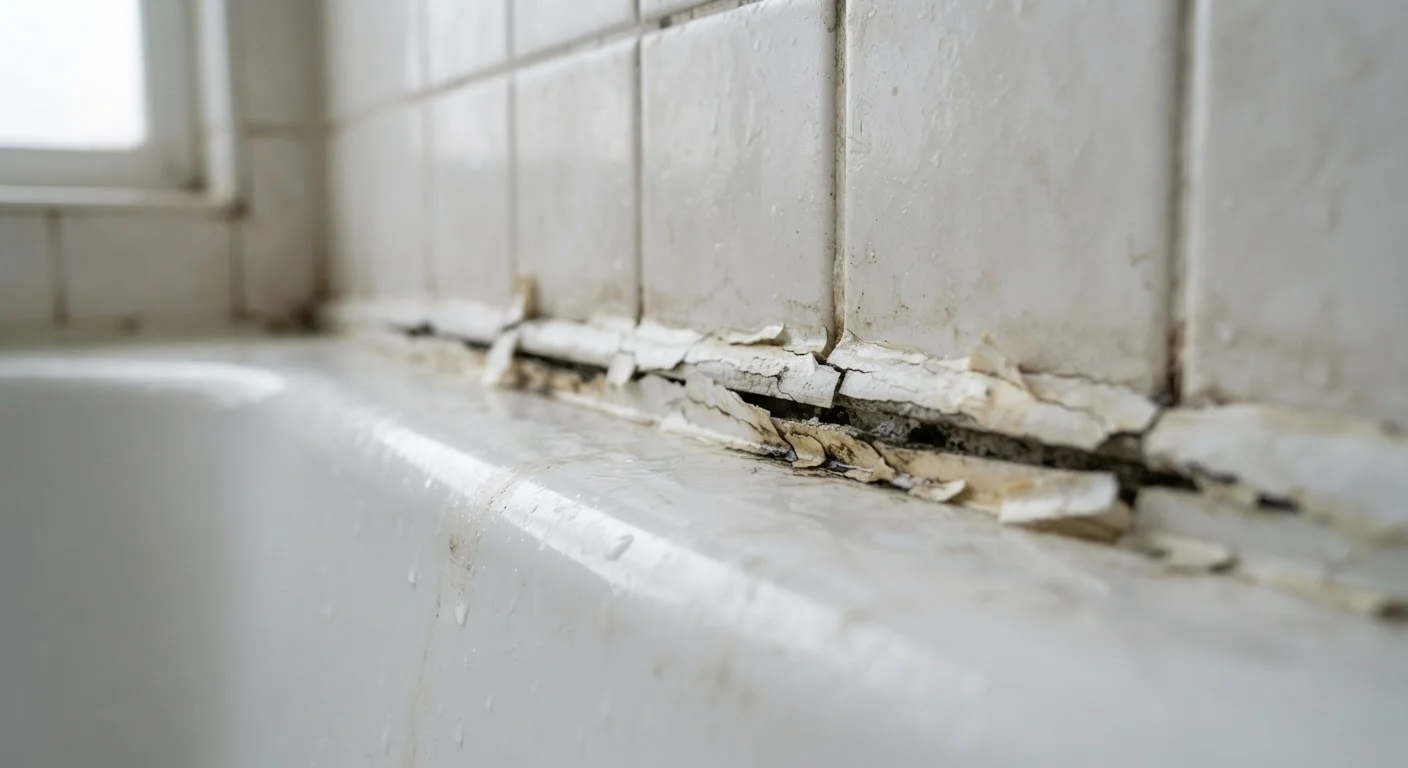
Photo: Online-Searches.net | Explore Insightful Blogs editorial
Key Takeaways
- Caulk most often fails because of surface prep mistakes, not the caulk product itself.
- Using the wrong caulk type for the location — such as paintable caulk in wet areas — guarantees early failure.
- Applying caulk over old, deteriorated caulk instead of removing it leads to poor adhesion.
- Allowing caulk to fully cure before exposing it to water or movement is essential for a lasting seal.
- Joint movement from settling or temperature changes requires flexible, appropriate-formula caulk.
Why Caulk Fails: The Root Causes
Cracked, peeling, or shrinking caulk is one of the most common frustrations homeowners face — and it almost always comes back faster than expected. The good news: caulk failure is rarely random. It traces back to a handful of predictable mistakes made during preparation or application.
Before reaching for a new tube, it's worth understanding what actually causes caulk to give out. Caulk seals joints against moisture and air, but it's also flexible enough to accommodate small movements in walls, fixtures, and framing. When either the bond or the flexibility fails, cracking follows. Most of the time, that failure was set in motion before the caulk even came out of the tube.
If you're also weighing whether caulk is even the right material for your joint, see our guide to grout vs. caulk — using the wrong filler is itself a leading cause of early failure.
Applying new caulk directly over old, deteriorated caulk without removing it first.
Skipping surface drying — applying caulk to a damp or contaminated surface.
Using the wrong caulk type for the specific location and substrate.
Overfilling the joint with too much caulk in a single pass.
Exposing freshly applied caulk to water before it has fully cured.
How to Apply Caulk That Actually Lasts
Once you understand the mistakes, the path to a durable seal becomes straightforward. The process that makes caulk last is less about technique and more about patience at each step.
3–5 years
Typical lifespan of properly applied caulk
Industry guidance suggests well-applied caulk in a tub or shower surround should last roughly three to five years under normal household use before needing replacement.
~80%
Caulk failures linked to prep or product mismatch
Home improvement professionals commonly estimate the large majority of repeat caulk failures stem from insufficient surface preparation or using an incompatible caulk formula rather than application technique.
Step 1: Remove All Old Caulk
Use a plastic scraper or a dedicated caulk-removal tool to strip the joint completely. Follow up with isopropyl alcohol or a surface cleaner appropriate to your substrate — tile, tub surround, or wood trim — and let the area dry fully. Rushing this step is the single biggest cause of repeat failures.
Step 2: Choose the Right Formula
Silicone caulk excels in wet, high-movement areas like tubs, showers, and sinks. Latex or acrylic caulk is easier to tool and paint, making it the right call for interior trim and dryer gaps. For exterior applications, look for formulas rated for outdoor temperature swings. Read the product label for the intended use — it will specify whether the caulk is suitable for wet areas, exterior use, and paintability.
Step 3: Apply and Tool Carefully
Cut the applicator tip at a shallow angle for better control. Apply steady, continuous pressure as you move along the joint. Wet your fingertip or a caulk tool and smooth the bead immediately, pressing it into contact with both surfaces. Avoid gaps, air bubbles, or thick buildups — thin, well-pressed beads cure more evenly.
Step 4: Respect the Cure Time
Check the label for full cure time, which is often 24 hours for latex and up to 48–72 hours for silicone. Keep the area dry and undisturbed during this window. Exposing uncured caulk to water or movement before it sets is a fast route back to the same problem.
Don't Caulk Over Mold or Mildew
The content provided on our blog site traverses numerous categories, offering readers valuable and practical information. Readers can use the editorial team’s research and data to gain more insights into their topics of interest. However, they are requested not to treat the articles as conclusive. The website team cannot be held responsible for differences in data or inaccuracies found across other platforms. Please also note that the site might also miss out on various schemes and offers available that the readers may find more beneficial than the ones we cover.