
Interior Painting Done Right: Surface Prep to Final Coat

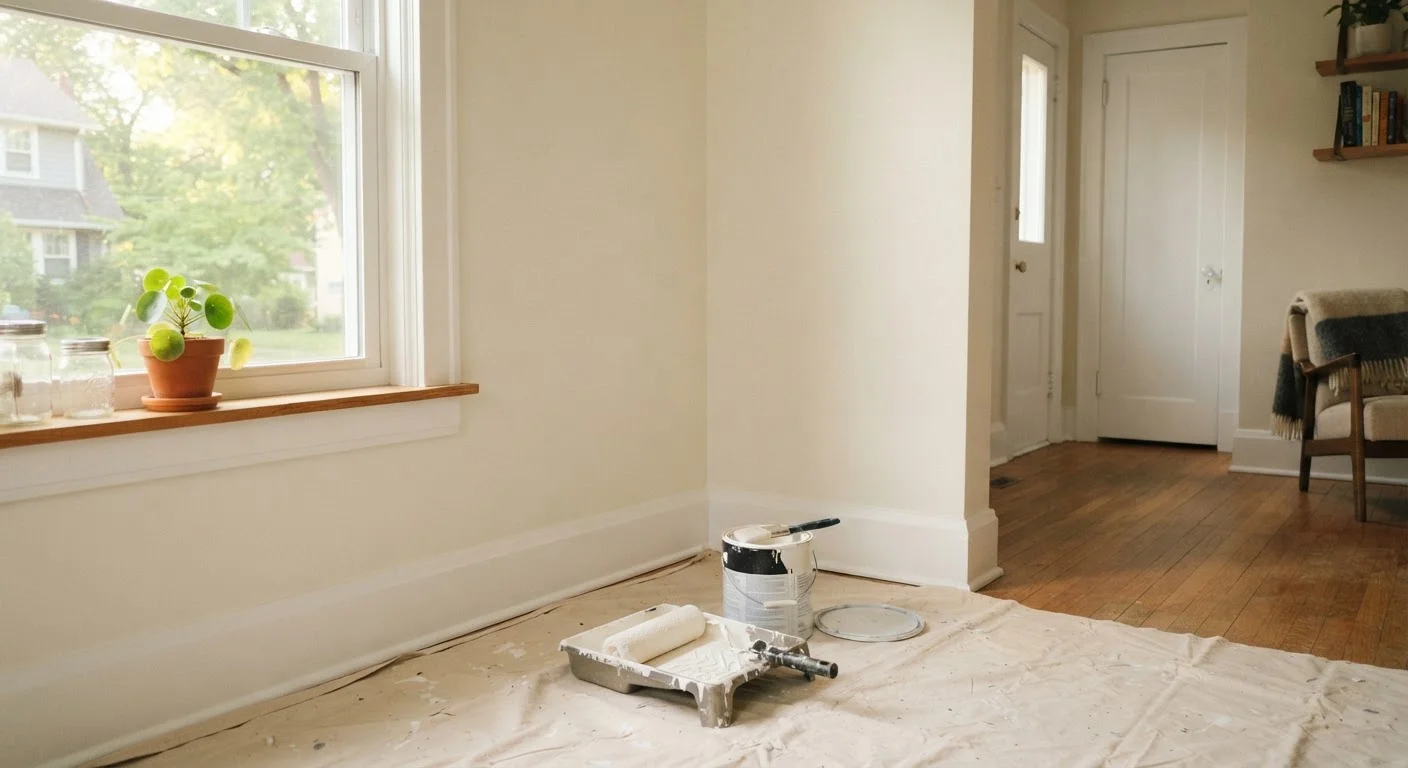
Photo: Online-Searches.net | Explore Insightful Blogs editorial
Key Takeaways
- Surface prep — cleaning, patching, and priming — determines whether paint adheres and lasts.
- Skipping primer on bare drywall or stained surfaces is the most common cause of poor results.
- Proper taping and cutting in before rolling eliminates most edge bleed and uneven lines.
- Two thin coats outperform one thick coat for durability and a smoother finish.
- Ventilation is essential when working with paint products; keep windows open and take breaks.
Why Preparation Decides the Outcome
A paint job is only as good as the surface underneath it. Professional painters routinely spend more time on preparation than on the actual painting — and for good reason. Paint applied over dirty, unpatched, or unsealed walls peels, cracks, and discolors within months, while walls that were properly cleaned, patched, and primed can hold a quality finish for a decade or more.
This guide walks through every stage of an interior paint project, from initial surface assessment through the final coat and cleanup. If this is part of a larger renovation, see how a renovation unfolds for guidance on sequencing painting within a broader project timeline.
Older Homes and Lead Paint
Before purchasing paint, take time to understand what you are buying. Sheen level, VOC content, and stated coverage all affect your results — our plain-language guide to reading a paint label explains each term so you can compare options with confidence.
Test Your Color Before Committing
What You'll Need
Gather all materials before starting. Stopping mid-project to make a supply run is how wet edges dry unevenly and lap marks appear. Below are the tools required for a standard room.
Painter's tape (2-inch)
Masks trim, outlets, and edges to produce clean lines without bleed.
Drop cloths (canvas or plastic)
Protects floors and furniture from drips and spills during painting.
Roller frame with 3/8-inch nap cover
Applies paint efficiently to flat walls; 3/8-inch nap suits smooth to lightly textured surfaces.
2.5-inch angled sash brush
Used for cutting in at edges, corners, and trim where a roller cannot reach.
Spackle or joint compound
Fills nail holes, hairline cracks, and small surface imperfections before priming.
Sandpaper (120- and 220-grit)
Smooths patched areas and lightly scuffs glossy surfaces to improve adhesion.
Primer
Seals bare surfaces and stains, providing a uniform base for topcoat adhesion.
Extension pole for roller
Allows rolling upper wall sections and ceilings without a ladder for many standard ceiling heights.
What you will need
If you are uncertain whether to tackle this project yourself or bring in a professional, a room-by-room breakdown of DIY vs. professional repair decisions can help you make that call honestly.
Step-by-Step: Surface Prep to Final Coat
Follow these steps in order. Skipping or rushing an early step creates problems that compound downstream — a missed patch becomes a visible bump under finish paint; inadequate priming causes uneven sheen. Work methodically and allow each stage to dry fully before advancing.
Ventilation Is Non-Negotiable
Clean and Inspect All Surfaces
Wash walls from top to bottom using a solution of warm water and a small amount of dish soap, then rinse with clean water and allow surfaces to dry completely — at least a few hours. Grease, smoke residue, and household grime prevent paint from bonding, particularly in kitchens and near high-traffic doorways.
Once clean, inspect every wall under a raking light (hold a work lamp at a sharp angle close to the surface) to reveal dents, cracks, and popped nail heads that would otherwise telegraph through your finish coat.
Patch All Imperfections
Fill nail holes with a lightweight spackle using a flexible putty knife, pressing the compound in and scraping it flush in a single pass. For wider cracks, apply joint compound in thin layers, allowing each to dry fully before adding the next — rushing this step causes shrinkage and visible seams.
Once dry, sand all patched areas smooth with 120-grit sandpaper, then finish with 220-grit for a surface that blends with the surrounding wall. Wipe away all dust with a lightly damp cloth before moving on.
Prime the Walls
Apply primer to any bare drywall, patches, or stained areas. On previously painted walls in good condition with no stains, a full-wall prime coat may not be necessary — but any spot that has been sanded back to bare material must be primed or the topcoat will soak in unevenly, creating dull patches called flashing.
For walls with significant staining (water marks, smoke, crayon), use a stain-blocking primer rather than a standard drywall primer; this prevents bleed-through that even two topcoats won't fully conceal. Allow primer to dry according to the manufacturer's recommended time before painting.
Tape and Protect
Apply painter's tape firmly along all trim edges, ceiling lines (if painting walls only), and outlet boxes. Press the tape edge down with a putty knife or your fingernail to seal it — loose tape edges are the primary cause of bleed. Remove tape while the final coat is still slightly tacky, not fully cured, to avoid lifting dried paint with it.
Lay drop cloths across the entire floor and overlap them at seams. Secure them to the baseboard with a strip of tape to prevent shifting underfoot.
Cut In the Edges
Using your angled sash brush, paint a band approximately 2–3 inches wide along all corners, ceiling lines, and trim — everywhere the roller cannot reach. Work in manageable sections (one wall at a time) so your cut-in edges are still wet when you roll adjacent areas. Wet-on-wet blending prevents a visible seam between brushed and rolled sections.
Load the brush by dipping only the bottom third of the bristles into the paint, then tap — don't wipe — against the inside of the can to remove excess. This keeps the bristles from becoming overloaded and dripping.
Roll the Walls in Two Coats
Load the roller by working it back and forth in the tray until evenly saturated — not dripping. Start in an upper corner and apply paint in a large W or M pattern, then fill it in without lifting the roller. Maintain a wet edge by keeping each new section overlapping the previous while it is still wet.
Apply the first coat and allow it to dry to the touch (typically 2–4 hours for latex paint in normal conditions). Lightly inspect the wall and spot-sand any drips or texture bumps with 220-grit before applying the second coat. Two thin, even coats provide better durability and color uniformity than one heavy application.
Remove Tape and Clean Up
Once the final coat has dried to a tacky-but-not-wet state, remove painter's tape at a 45-degree angle, pulling back over itself slowly. If any bleed occurred, touch up immediately with a small brush while edges are still workable.
Clean latex paint from brushes and rollers with warm water; oil-based paints require mineral spirits. Seal remaining paint in its original can with a tight lid — store it upside down briefly to coat the lid seal — and label the can with the room name and color for future touch-ups.
For projects that involve more complex surface work — such as tile removal or substrate repair — the principles behind getting surface details right the first time apply equally to painted walls.
The content provided on our blog site traverses numerous categories, offering readers valuable and practical information. Readers can use the editorial team’s research and data to gain more insights into their topics of interest. However, they are requested not to treat the articles as conclusive. The website team cannot be held responsible for differences in data or inaccuracies found across other platforms. Please also note that the site might also miss out on various schemes and offers available that the readers may find more beneficial than the ones we cover.