
Tile Installation: The Details That Separate a Clean Job from a Crooked One

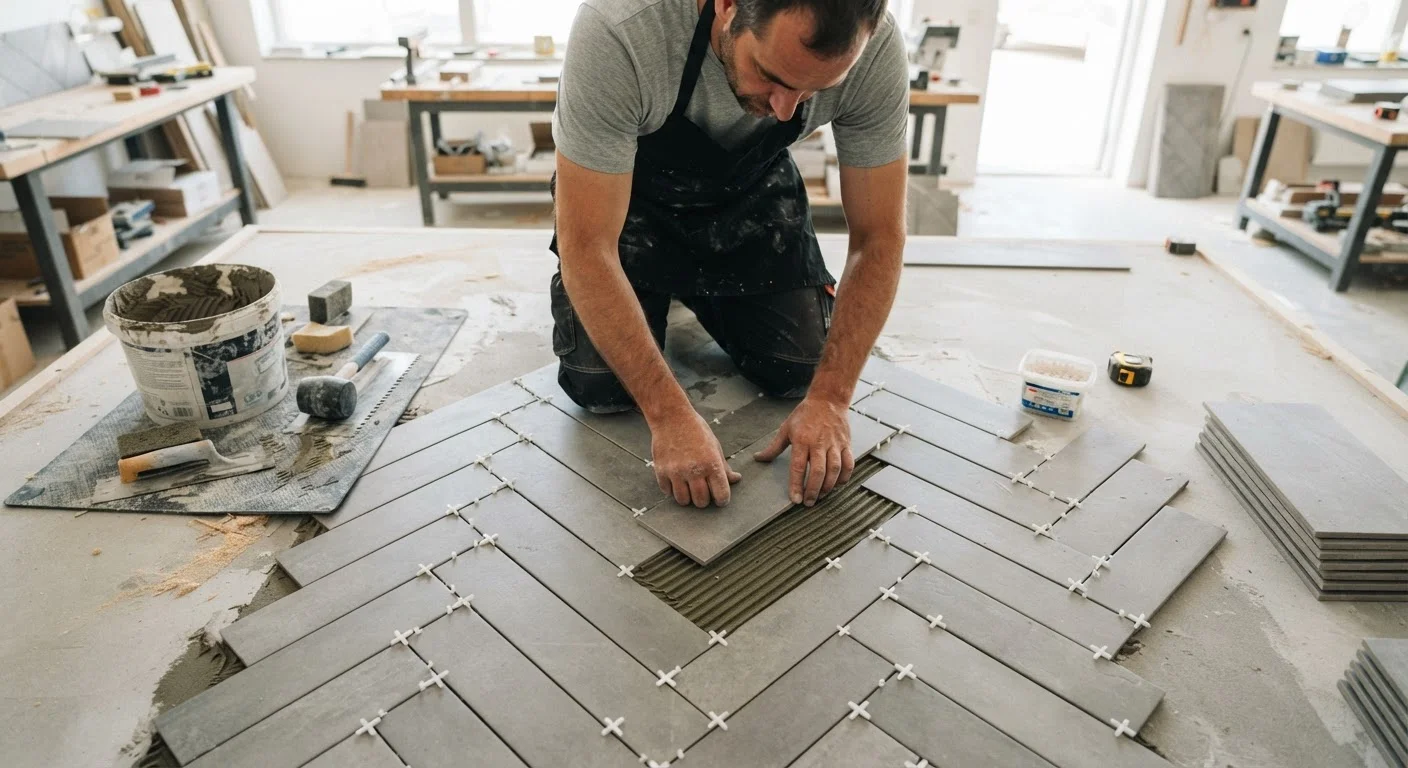
Photo: Online-Searches.net | Explore Insightful Blogs editorial
Key Takeaways
- Always dry-lay your tile before mixing mortar to catch layout problems early.
- Starting from the center of the room — not a wall — prevents awkward cut slivers at edges.
- Consistent spacing with tile spacers is essential for grout lines that look intentional.
- Substrate flatness matters more than most DIYers realize — high spots and dips cause cracked tiles.
- Grout and caulk serve different purposes; using the wrong one at corners leads to cracking.
- Taking time at each stage saves costly tear-outs — mortar errors are essentially permanent.
Why Tile Forgives Nothing
Unlike paint, which you can roll over again, or carpet, which gets pulled up and replaced, tile errors compound. A slightly off-center starting point cascades into visible misalignment across an entire floor. Grout that cures before you wipe it leaves a haze that takes real effort to remove. These aren't worst-case scenarios — they're what happens when the planning phase gets rushed.
The good news: tile installation rewards methodical work more than raw skill. A careful first-timer who plans the layout, prepares the substrate, and works deliberately will consistently outperform a fast worker who skips steps. This guide focuses on the decisions and habits that separate clean, lasting results from the kind that look fine at first glance and reveal problems six months later.
For a broader look at which home repairs are good DIY candidates versus when to call in a professional, see our room-by-room repair guide.
Lay Out Before You Set Anything
Dry-laying — placing tiles across your surface without any adhesive — is the single most valuable step most DIYers skip. It takes time, but it exposes every layout problem before mortar is involved.
Once you've confirmed your layout looks right dry, snap chalk lines at your center reference points. These lines are your anchors throughout the job. Don't rely on your eye once you start setting; the lines keep every tile honest even when you're working quickly or on your knees.
Substrate and Mortar: The Invisible Foundation
The surface under your tile determines how long it lasts. A substrate that flexes — such as standard 1/2-inch drywall in a wet area, or a subfloor with noticeable bounce — will crack grout lines and eventually tiles themselves. In wet areas, use cement board or an appropriate waterproof backer. On floors, check for deflection by walking the area and feeling for movement.
When Permits May Be Required
Mortar consistency is also worth getting right. Too dry and coverage is poor; too wet and tiles slide. Mix to a peanut-butter consistency and back-butter large-format tiles (generally 15 inches or larger on any side) in addition to spreading mortar on the substrate. Full, even coverage under each tile prevents hollow spots that crack under foot traffic.
Setting, Spacing, and Staying Square
Work in manageable sections — typically 3 to 4 square feet at a time — so mortar doesn't skin over before you set tiles. Press each tile with a slight twisting motion rather than just pushing straight down; this collapses air pockets and improves adhesion. Use a rubber mallet and a beating block (a scrap of wood wrapped in cloth works) to bed tiles evenly without cracking them.
Tile spacers aren't optional on a quality job. Even experienced installers use them, because consistent grout lines are what make tilework look intentional rather than approximate. Pull spacers before the mortar fully cures — usually after a few hours — so they don't lock in place. Check your work frequently with a level and a straightedge across multiple tiles; small corrections now cost nothing. Corrections after the mortar sets require a chisel.
Cutting and Edge Tiles
Your layout planning should have ensured that cut tiles at walls are at least half a tile wide, avoiding the sliver effect that signals a poorly planned job. When you reach the cuts, measure each one individually rather than assuming the walls are perfectly parallel — they rarely are.
A wet saw produces the cleanest cuts and is worth renting for any project larger than a backsplash. Score-and-snap cutters work for straight cuts on standard ceramic but struggle with porcelain or larger formats. Curved cuts around pipes or outlets require a tile nipper or an angle grinder fitted with a diamond blade. Take those cuts slowly — porcelain especially will chip if you rush.
After installation, the choice between grout and caulk at inside corners and transitions matters more than most people realize. Our grout vs. caulk guide explains why caulk — not grout — belongs at every inside corner and change-of-plane joint.
Grouting and the Final Details
Wait the full cure time specified by your mortar manufacturer — often 24 hours minimum — before grouting. Walking on tiles too soon shifts them. Mix grout to a smooth, lump-free consistency and work it into joints at a diagonal to the grout lines using a rubber float. This angle packs joints fully without dragging grout back out.
Wipe haze from tile faces with a damp sponge in circular motions before it dries, rinsing the sponge frequently. Grout haze that dries completely requires a commercial haze remover and extra labor. Once grout has cured — check the manufacturer's recommended time — apply a penetrating grout sealer to porous or sanded grout to reduce staining over time.
1/8"
Maximum floor flatness deviation over 10 feet
Industry installation standards widely cited by tile associations recommend floors be flat within 1/8 inch per 10 feet before tile is set.
80–95%
Minimum mortar contact coverage behind each tile
Tile installation guidelines generally call for 80% minimum coverage in dry areas and 95% in wet areas to ensure structural bond and prevent cracking.
The standards you apply here carry over to every improvement project. The same preparation mindset behind a solid tile job applies to a lasting paint finish — see our interior painting prep guide for how surface preparation drives final results there too.
The content provided on our blog site traverses numerous categories, offering readers valuable and practical information. Readers can use the editorial team’s research and data to gain more insights into their topics of interest. However, they are requested not to treat the articles as conclusive. The website team cannot be held responsible for differences in data or inaccuracies found across other platforms. Please also note that the site might also miss out on various schemes and offers available that the readers may find more beneficial than the ones we cover.