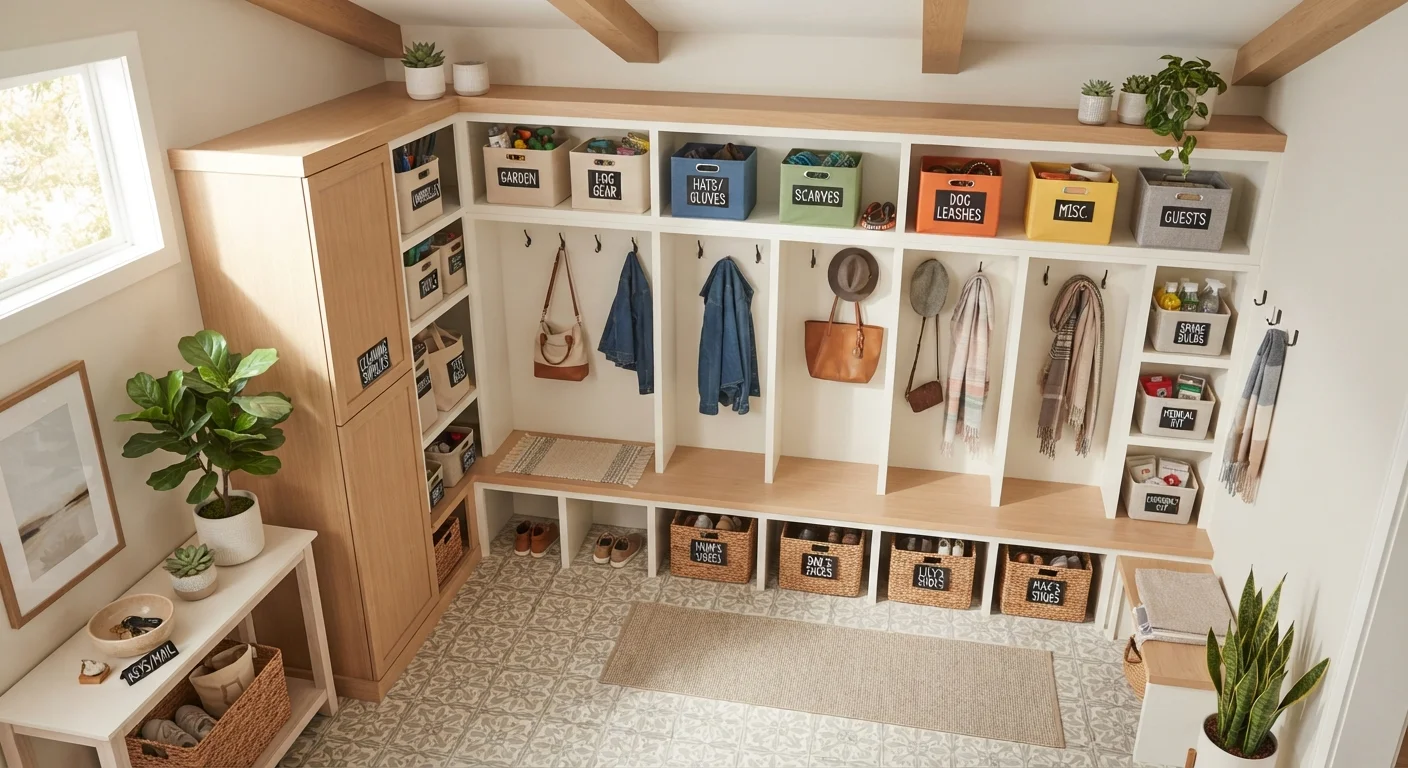
Clearing Out a Closet Without Losing Your Mind


Photo: Online-Searches.net | Explore Insightful Blogs editorial
Key Takeaways
- Empty the closet completely before making any organizational decisions.
- Sort every item into one of four clear categories: keep, donate, trash, or relocate.
- Return only items that belong in that closet and that you actively use.
- Group like items together and use vertical space to maximize storage capacity.
- A brief weekly reset prevents clutter from quietly rebuilding over time.
Why Closet Clutter Builds So Quietly
Closets are the easiest places in a home to defer decisions. When something doesn't have an obvious home, it ends up on a shelf or the floor with the vague intention of dealing with it later. Over months and years, those deferred decisions stack up into a wall of stuff that feels impossible to face.
The good news: a closet is a contained space with a finite number of items. That makes it one of the most achievable decluttering projects in the house — far less overwhelming than tackling an entire room. If you're new to decluttering or unsure where to begin, see our introduction to decluttering from scratch for a broader orientation before diving in.
This guide focuses on a single closet from empty to organized. Whether it's a coat closet by the front door, a hallway linen closet, or a full walk-in, the same process applies.
What you will need
What You'll Need Before You Start
The tools for this project are simple and mostly things you already have. Gathering them before you begin keeps the session from stalling mid-sort.
Labeled sorting boxes or bags
Create clear physical categories for every item pulled from the closet.
Vacuum or handheld vac
Clean the empty closet floor and shelves before returning items.
Slim velvet hangers
Replace bulky plastic hangers to reclaim significant rod space.
Shelf dividers or bins
Keep folded stacks and grouped items from toppling or mixing together.
Over-the-door organizer
Adds accessible storage for shoes, accessories, or small items without using floor space.
Use Existing Containers First
If this closet project is part of a larger home reorganization effort, our weekend whole-home declutter plan maps out how to sequence a multi-room effort realistically.
Step-by-Step: Clearing and Reorganizing Your Closet
Follow these steps in order. Skipping ahead — especially returning items before finishing the sort — is the most common reason closet projects produce underwhelming results.
Don't Skip the Full Empty-Out
Set up your sorting stations
Before you pull a single item out, place your four labeled containers — Keep, Donate, Trash, Relocate — in the space directly outside the closet. This prevents sorting decisions from stalling because you have nowhere to put things. If you're working in a bedroom closet, the bed works well as a staging surface.
Empty the closet completely
Remove everything — clothes, shoes, boxes, loose items on shelves, items on the floor. Don't sort as you go at this stage; just get it all out. Once the closet is bare, wipe down shelves, vacuum the floor, and let it air out for a few minutes. Starting with a clean, empty space resets your perspective and makes it easier to plan a better layout.
Sort every item into one of four categories
Pick up each item individually and make a fast decision:
- Keep: Used in the past year, fits, and belongs in this closet.
- Donate: In usable condition but no longer needed or worn.
- Trash: Broken, worn out, or unsanitary — not worth donating.
- Relocate: Belongs in the house but not in this closet.
Speed matters here. Lingering over every item burns mental energy and leads to decision fatigue before you finish.
Immediately remove what isn't staying
Bag the donate items and move them to your car or front door right now — not tomorrow, now. Leaving donation bags inside the house increases the chance they'll get picked through and their contents redistributed back into the clutter. Take the trash out to the bin. Move relocate items to their correct rooms.
Group your 'Keep' items by category
Before anything goes back in, organize your keep pile into logical groups: everyday clothing, seasonal items, shoes, accessories, linens, or whatever applies to your closet type. Grouping first means you can plan the layout intentionally — high-frequency items at eye level and arm's reach, low-frequency or seasonal items on high shelves or the floor.
Return items with a clear layout plan
Put items back with purpose. Use the rod for hanging clothes, grouped by category. Fold and stack items on shelves using dividers if stacks tend to tip. Use floor space for shoes and larger bins. Reserve the highest shelf for rarely accessed items. If you notice you're forcing items back in, that's a signal you're keeping too much — return to your sort pile for another pass.
Build a simple maintenance habit
A closet stays organized through small, consistent habits — not periodic overhauls. A quick 5-minute weekly reset (hanging anything left on the floor, returning misplaced items) prevents slow drift back into chaos. Some households use a one-in, one-out rule: when a new item enters the closet, one item leaves. It's a straightforward way to keep the space from quietly filling back up.
Not sure which sorting approach works best for your household? Our comparison of category-based vs. location-based decluttering can help you decide how to structure future projects.
Keeping It Organized Long-Term
The hardest part of closet organization isn't the initial sort — it's maintaining the result. Without a simple system, most closets return to their previous state within a few months. The weekly 5-minute reset described in Step 7 is your main defense against that drift.
Avoid the 'Maybe' Pile Trap
Before you move on to reorganizing other rooms, it's worth running through a pre-organization room checklist to assess traffic flow, storage gaps, and clutter sources before you move a single item. For a full picture of home organization — from first sort to long-term systems — our end-to-end home organization guide covers every stage in detail.
The content provided on our blog site traverses numerous categories, offering readers valuable and practical information. Readers can use the editorial team’s research and data to gain more insights into their topics of interest. However, they are requested not to treat the articles as conclusive. The website team cannot be held responsible for differences in data or inaccuracies found across other platforms. Please also note that the site might also miss out on various schemes and offers available that the readers may find more beneficial than the ones we cover.